Campus Photograph 1
Campus Photograph 2
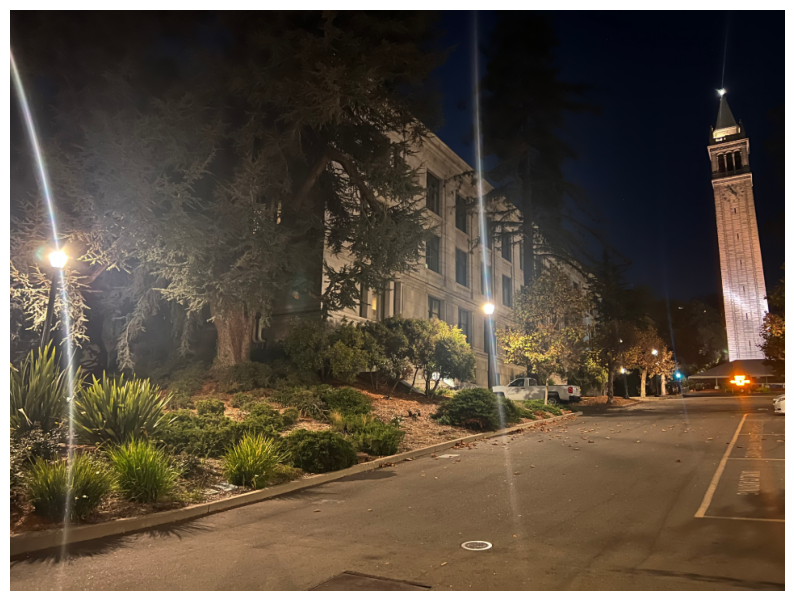
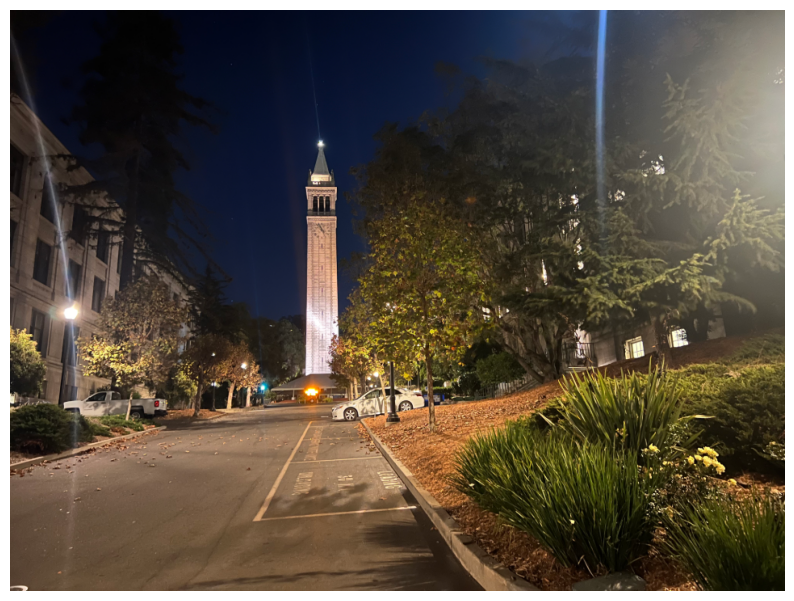
In this project, I create mosaics from pictures I capture utilizing warping through homographies and blending. I captured a few photos with overlapping fields of view to accomplish this. Below are a few pictures I used for this project.
Campus Photograph 1
Campus Photograph 2
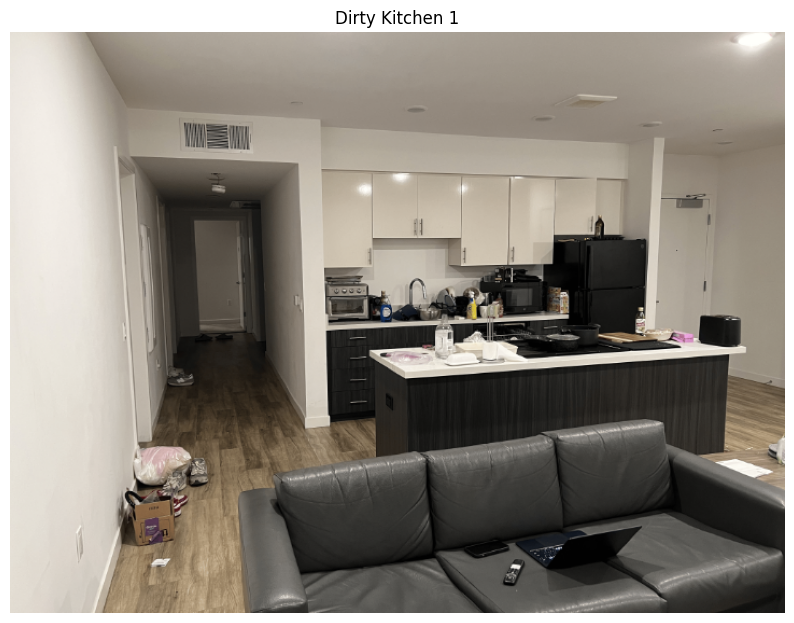
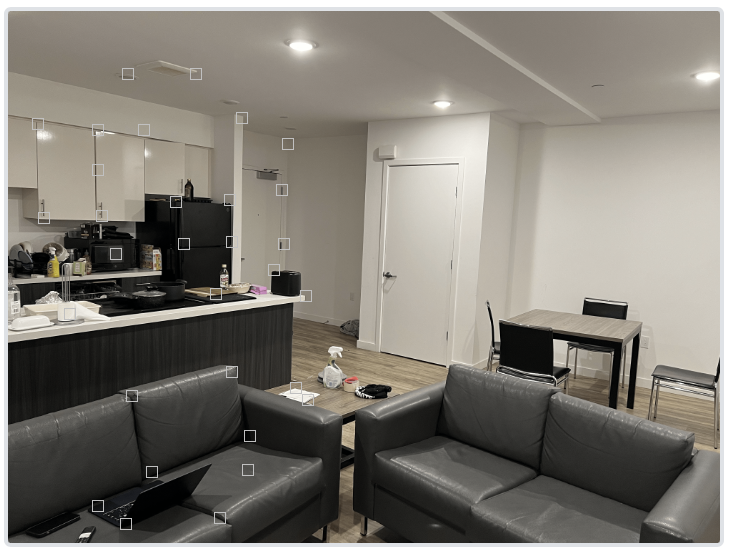
Kitchen Photograph 1
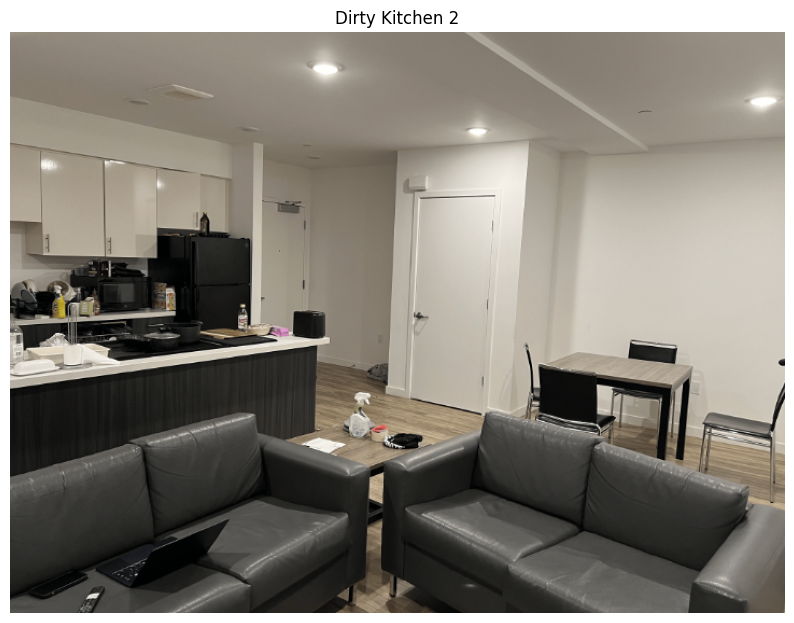
Kitchen Photograph 2
I computed homographies between image pairs using manually defined point correspondences and solved the linear system using least-squares to obtain the transformation matrix. The system of equations was of the form: [-x2, -y2, -1, 0, 0, 0, x1 * x2, x1 * y2, x1] and [0, 0, 0, -x2, -y2, -1, y1 * x2, y1 * y2, y1] allowing me to solve for the unknowns of the 3x3 homography matrix (with one entry being 1). I selected many correspondence points to order to have an over-determined system of equations so that my solution is more robust and accurate. This system allows us to recover the homography matrix which allows warping between images.
Homography for Campus Mosaic
Homography for Campus Mosaic

Homography for Kitchen Mosaic
Homography for Kitchen Mosaic
Using the recovered homographies, I warped images to align with the reference image. I implemented forward and inverse warping techniques, ensuring proper interpolation using scipy's map_coordinates to create the stitched mosaics. As a sanity check, I took pictures of posters that were at an angle in Haas Pavilion and then used the Warping to see if I can warp the poster onto a flat plane. This was done by setting the correspondences of the first image to be the corners of the poster and the correspondences of the flat plane to be rectangular coordinates of the form: [0, 0; 0, d; d, d; d, 0].
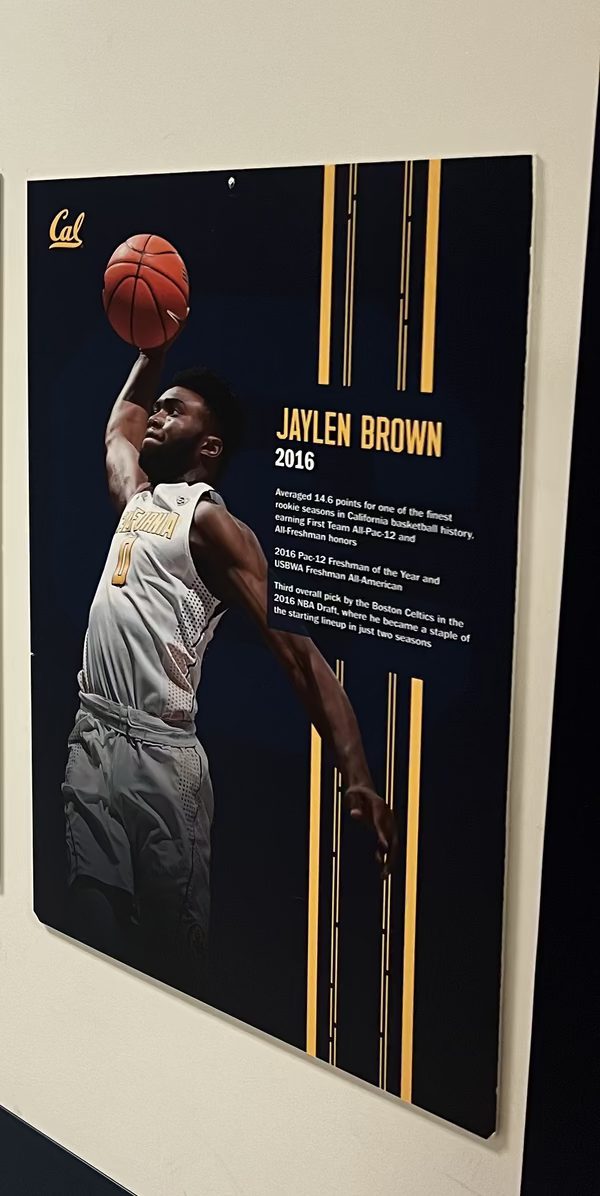
Jalen Brown
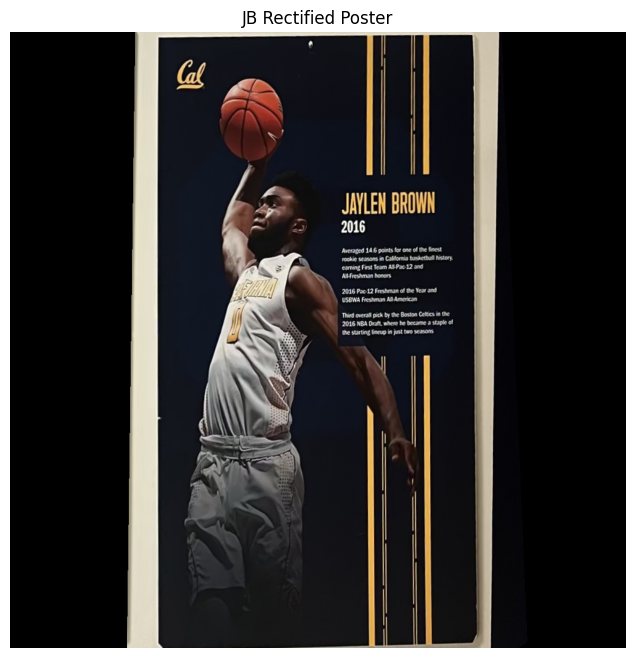
Rectified JB poster
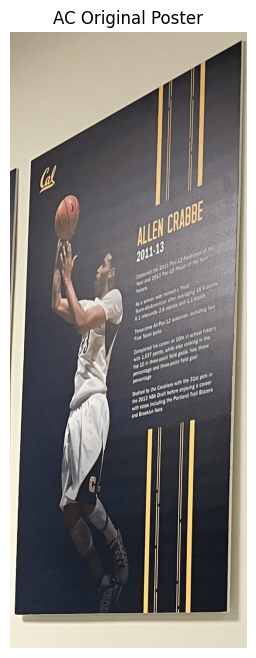
AC Poster
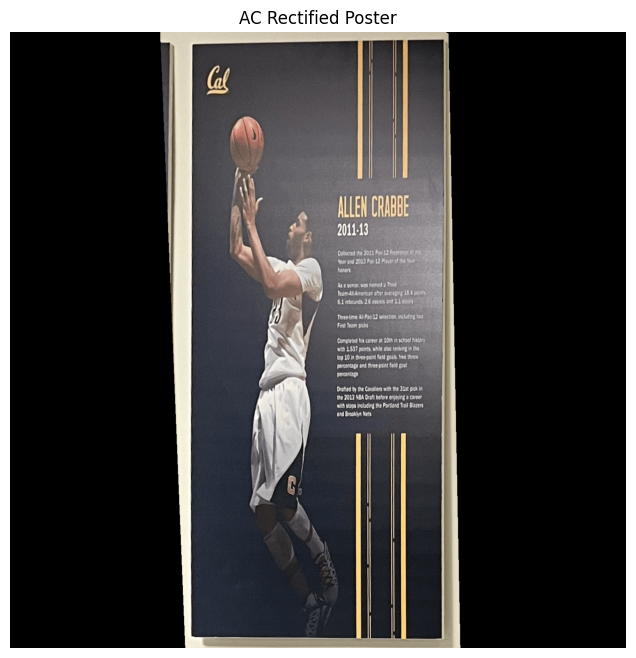
Rectified AC Poster
In this section, I blended warped images into a mosaic using cv2.distanceTransform and utilizing Euclidean Distance in order to blend the colors on the edge of the stitched mosaics. Three examples of mosaics created from different image sets are shown below.
Img 1 of Campus
Img 2 of Campus
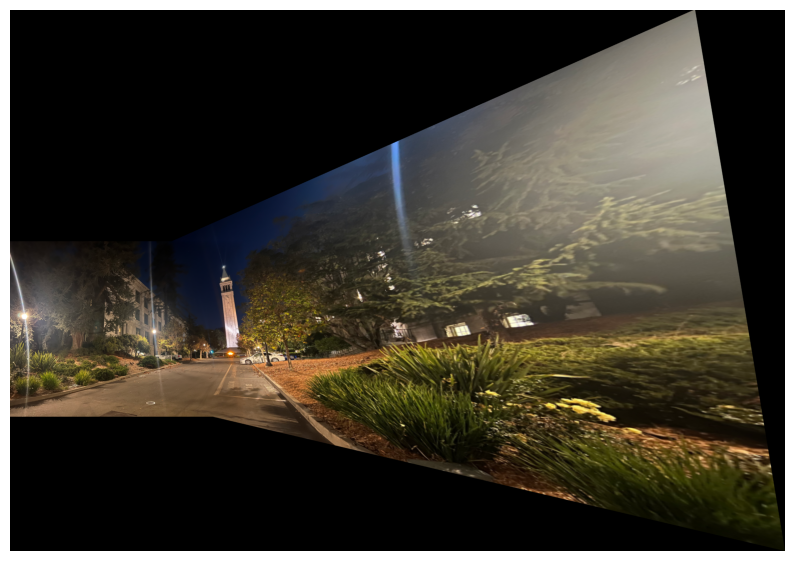
Mosaic of Campus

Img 1 of our Room

Img 2 of our Room
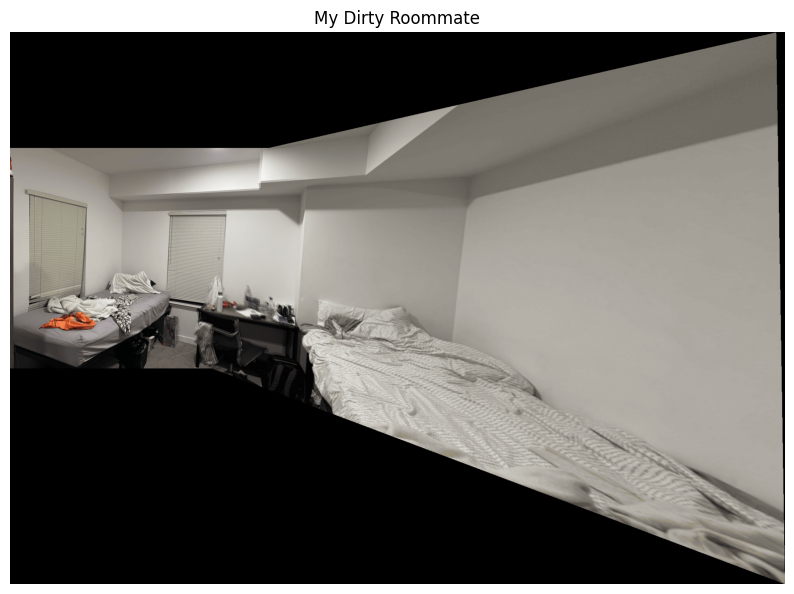
Mosaic of our Room
Img 1 of our Kitchen
Img 2 of our Kitchen
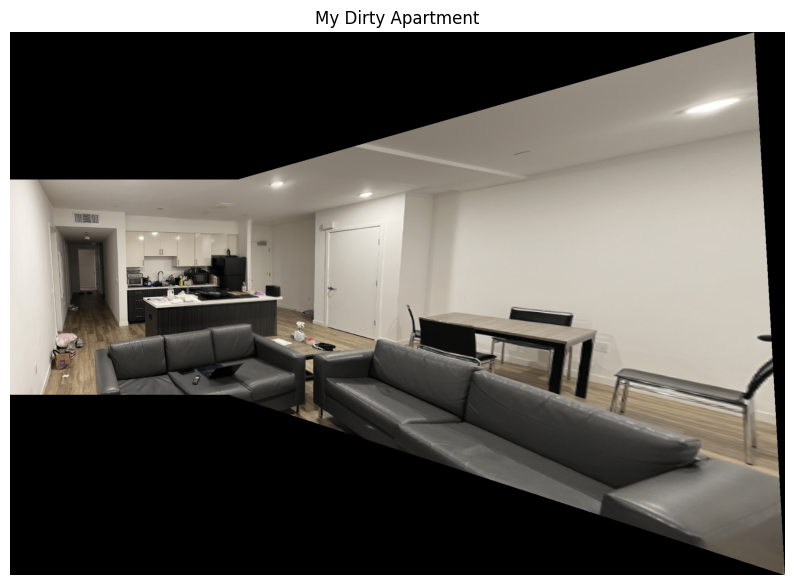
Mosaic of our Kitchen
The goal of the rest of this project is to create a system for automatically stitching images into a mosaic. This was done by implementing corner detection, feature extraction, and feature matching algorithms.
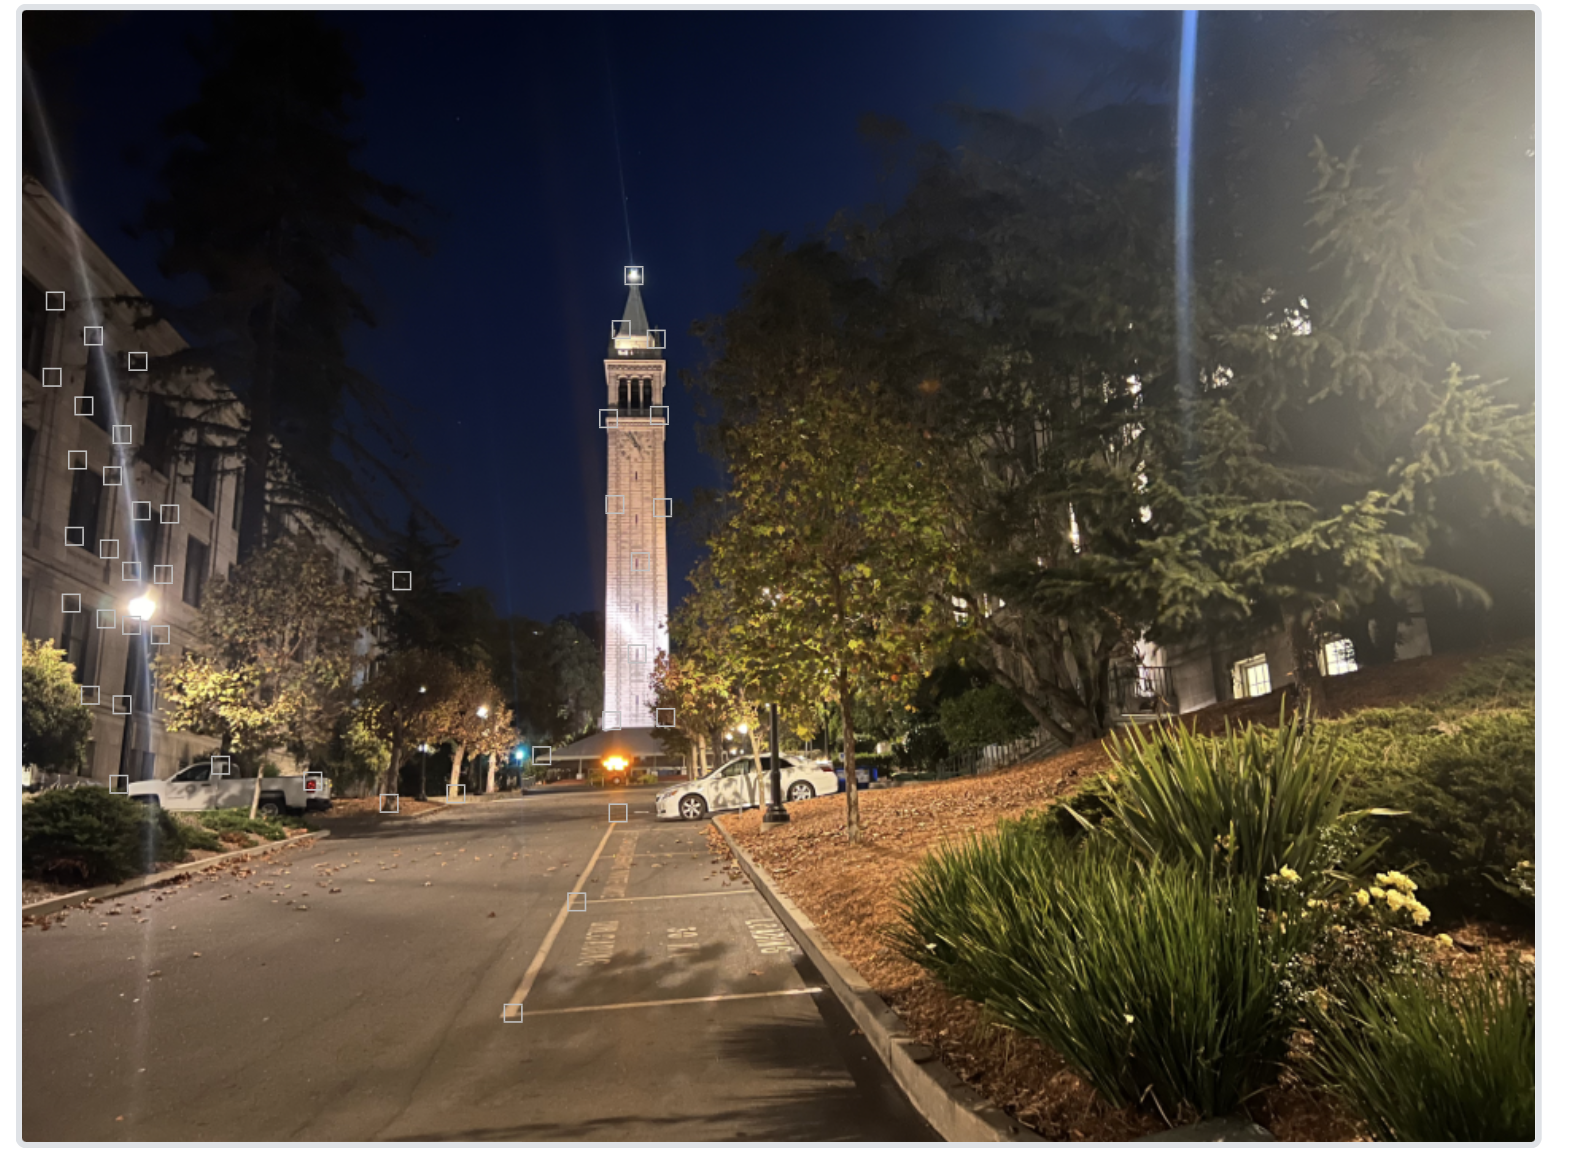
I started with the Harris Interest Point Detector which finds "corners" in the image. There were some simplifications in place such as using a single scale without sub-pixel accuracy. Below is an example of the Harris corners overlaid on the image.
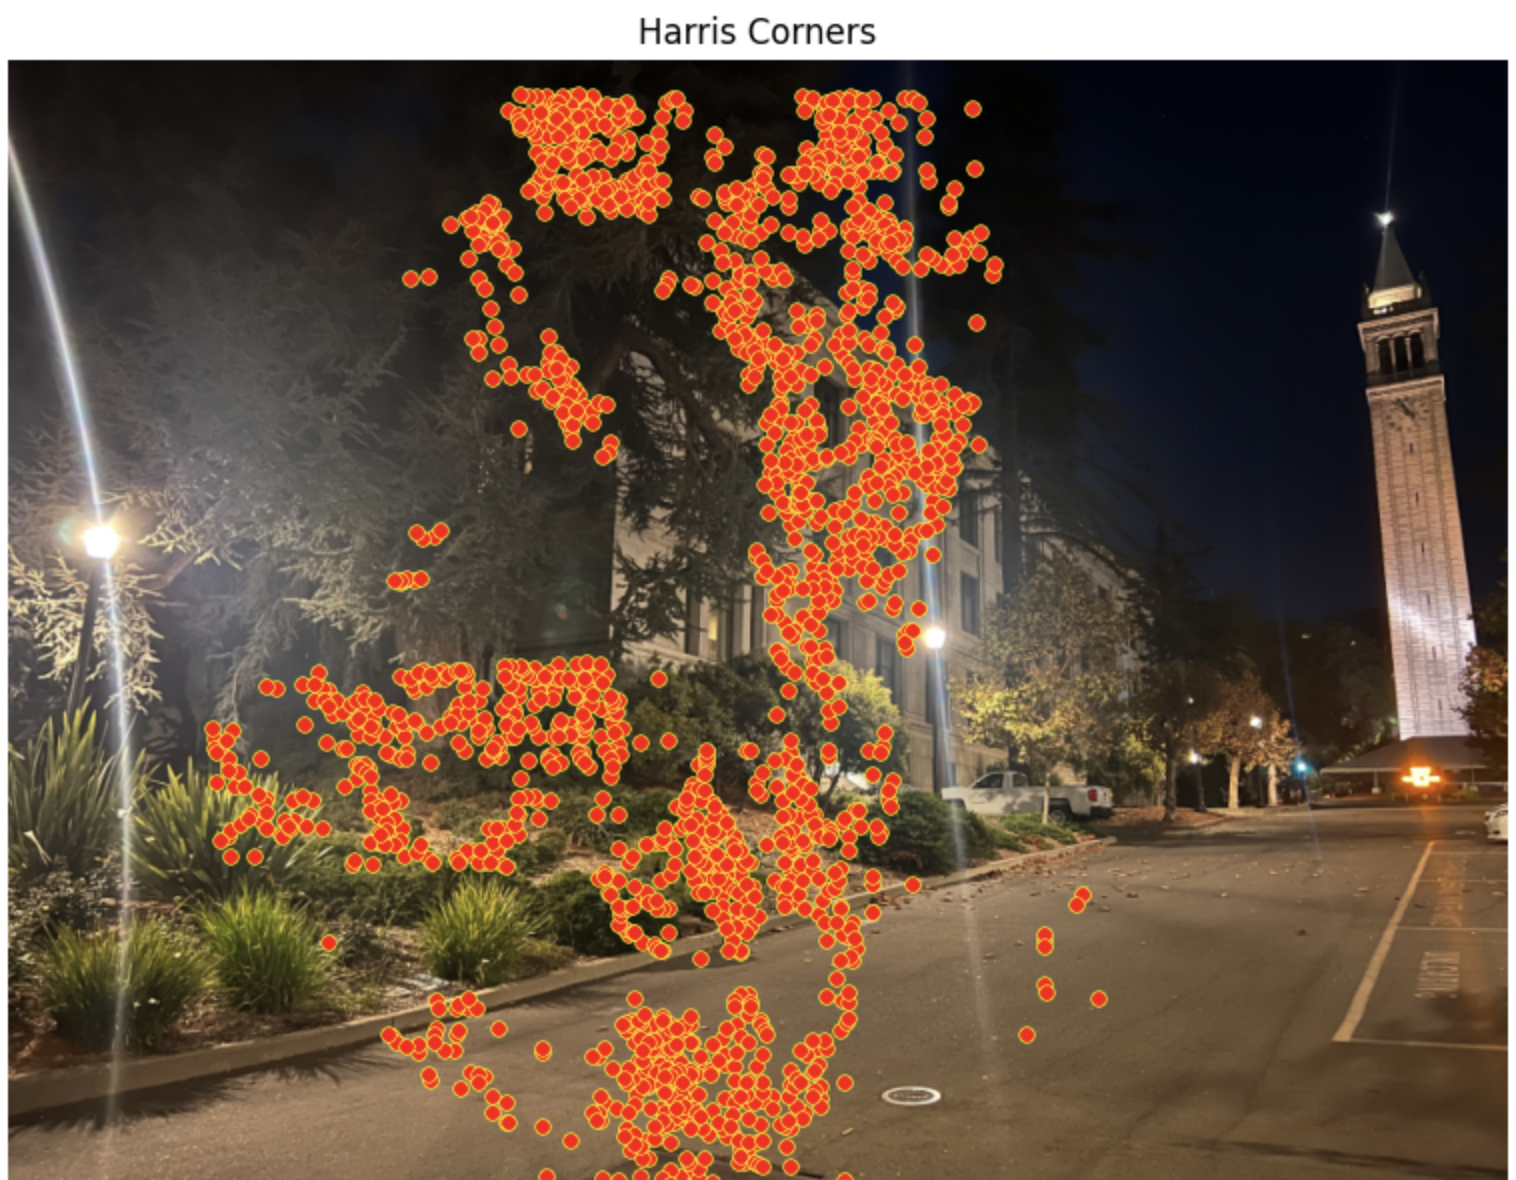
Harris Corners Overlay
Next, I implemented Adaptive Non-Maximal Suppression (ANMS) to select a refined set of corner points. This step ensures that the selected corners are well-distributed and prominent, allowing for feature matching to be more robust and accurate. This was done by using a k-d tree to find a set of neighboring points and removing points around a corner if the strength of the corner was more prominent.
Adaptive Non-Maximal Suppression Overlay
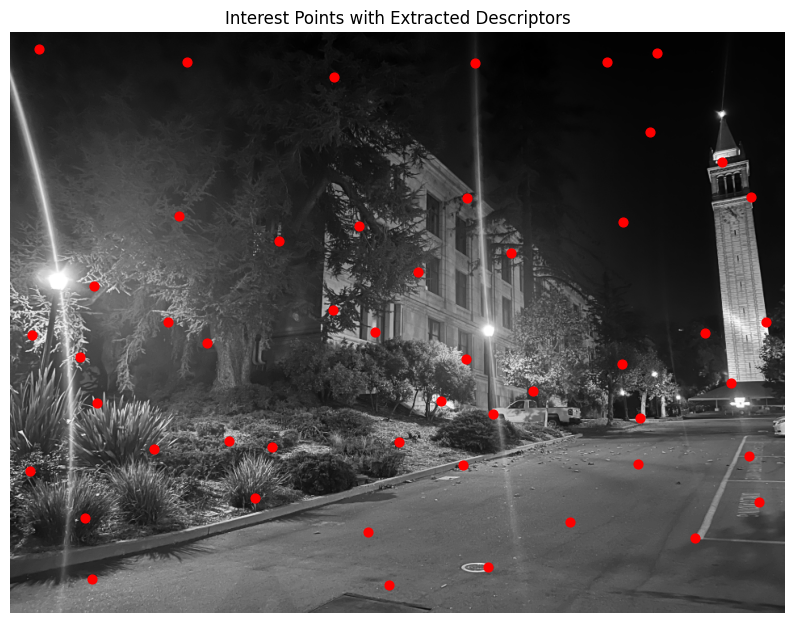
Next, I extracted feature descriptors by capturing axis-aligned 8x8 patches from a larger 40x40 window around each feature point. These descriptors were bias and gain-normalized to ensure consistency. Below is an example of a extracted feature descriptor.

Feature Descriptors Example
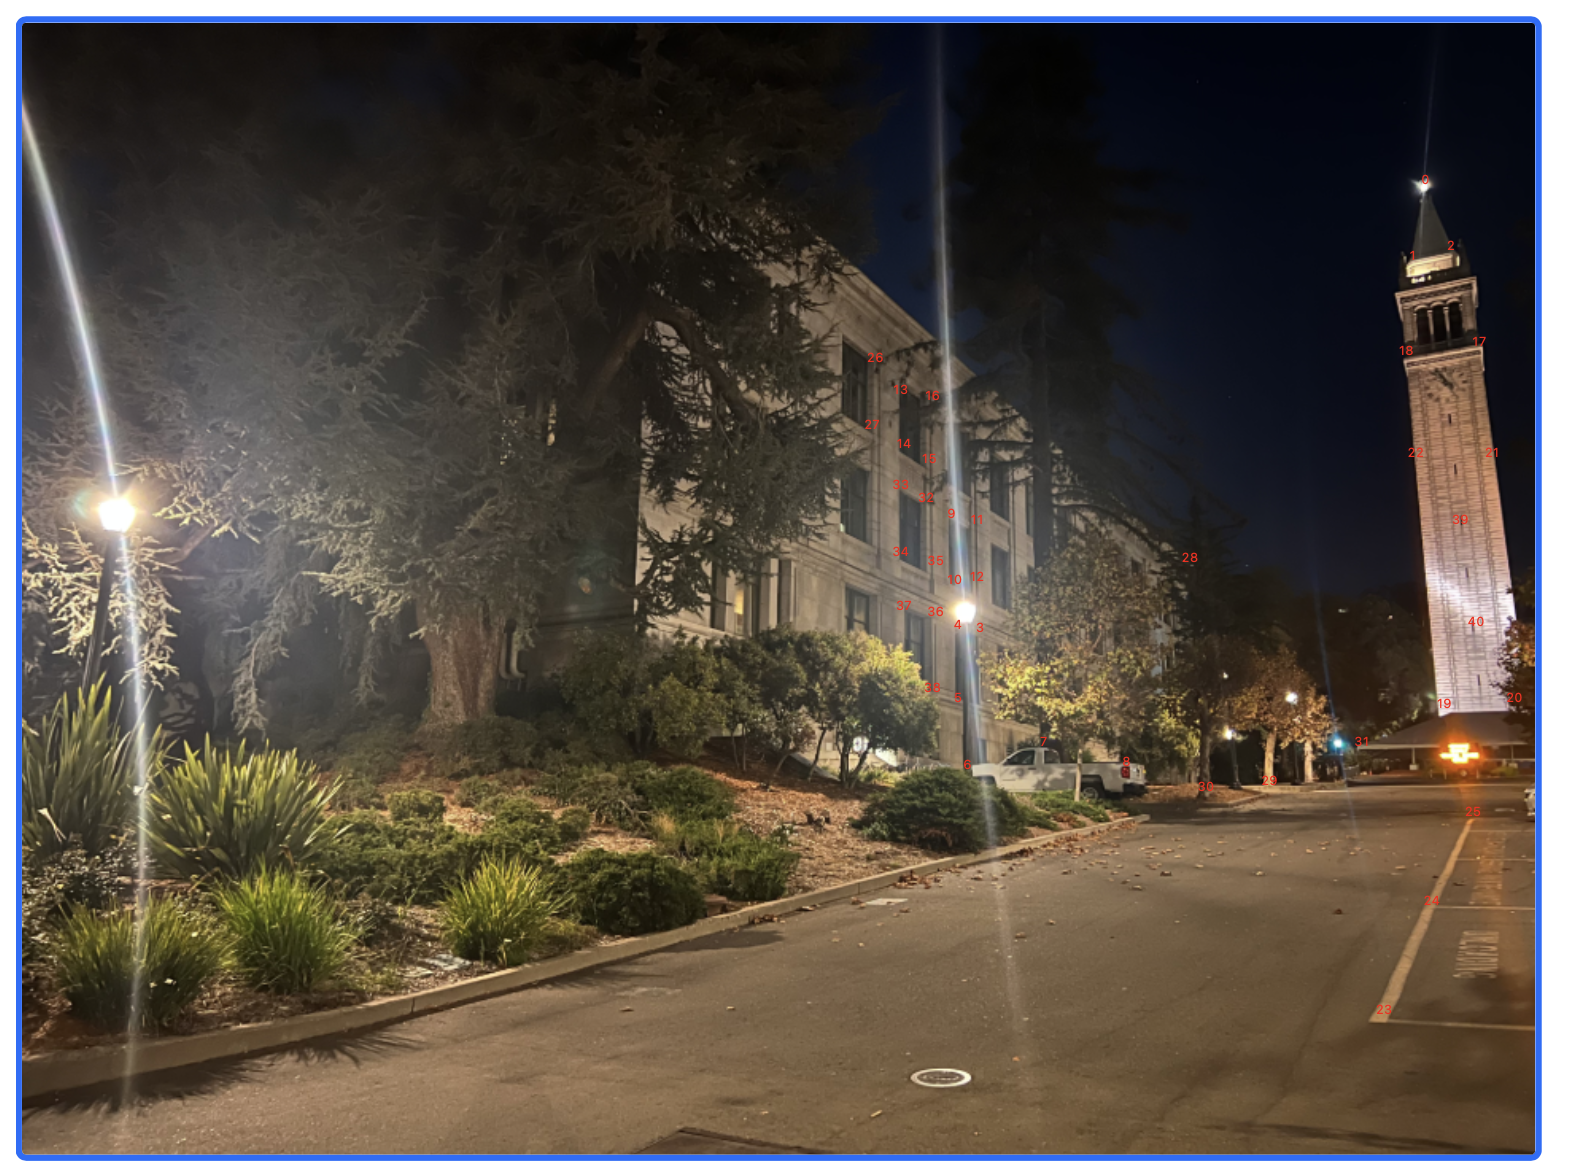
For feature matching, I identified pairs of features that are similar based on their descriptors. I utilized 2 k-d trees and found the best matching descriptor in the second image for each feature in the first image of the mosaic. I also cross-checked the features to ensure that the choose descriptor was the best match in either direction to increase robustness. Furthermore, I employed Lowe's ratio test to filter matches by comparing the ratio between the first and second nearest neighbors. This approach helps in selecting reliable matches.
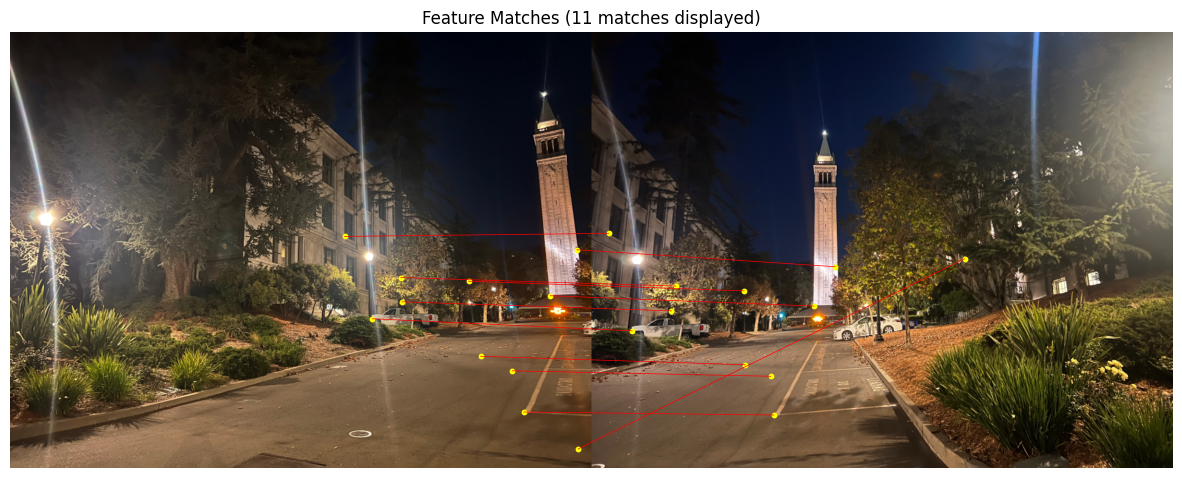
Feature Matching Results
Using the matched feature points, I applied 4-point RANSAC to compute a robust homography estimate. I randomly select 4 pairs of points across the two images being used to create the mosaic and compute the exact homography matrix. The homography which produces the most correct matches is the one that is then used to create the mosaic itself. This is done to mitigate the effects of the remaining incorrect pairs of correspondence points from the previous step which can drastically affect the quality of the final mosaic. Thus, RANSAC reduces the effect of outliers and ensures an accurate transformation matrix for the final image warping step.
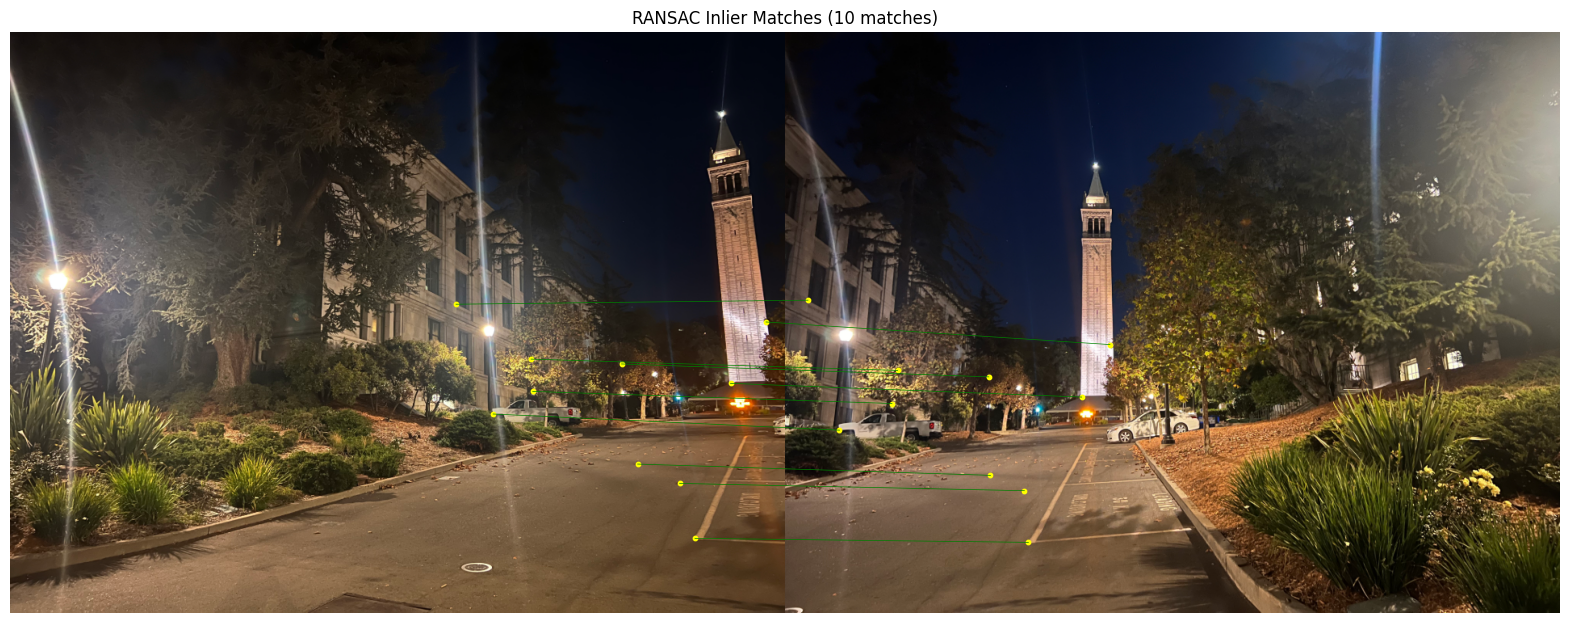
RANSAC Homography Computation
Finally, I produced the mosaics using this automatic stitching. Below are three examples of the mosaics created using the manual and automatic algorithms.
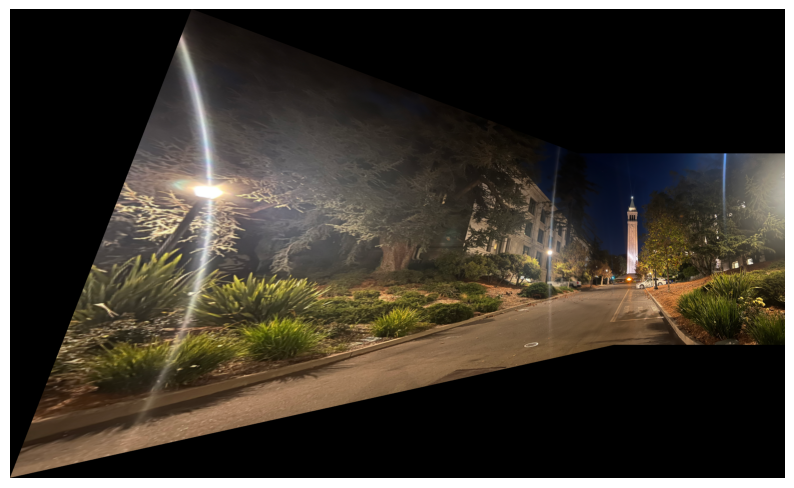
Manual Campus Mosaic
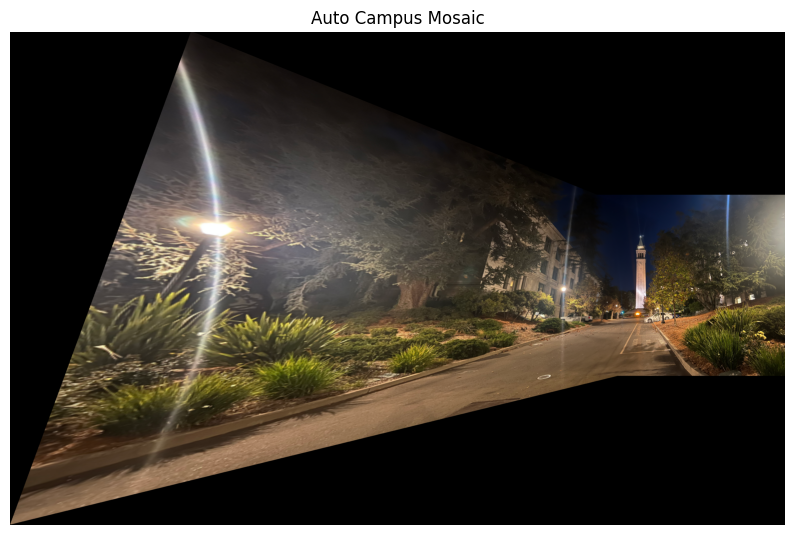
Auto Campus Mosaic
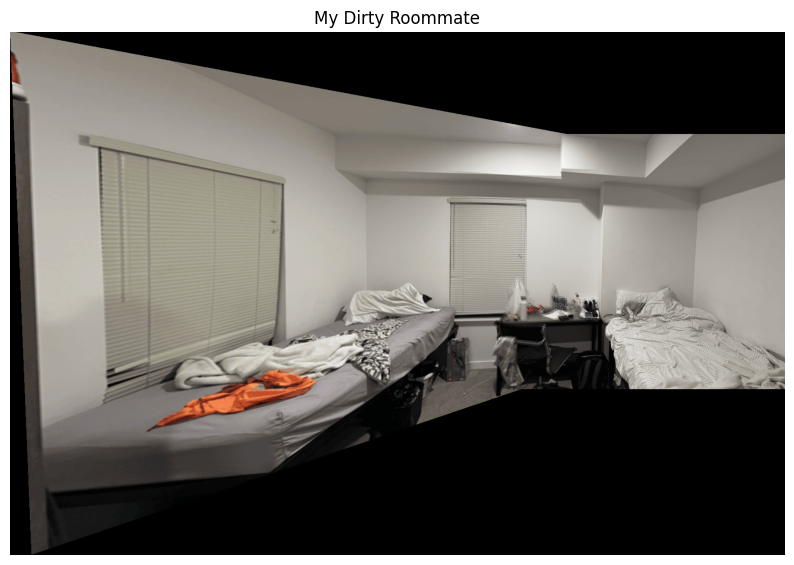
Manual Room Mosaic
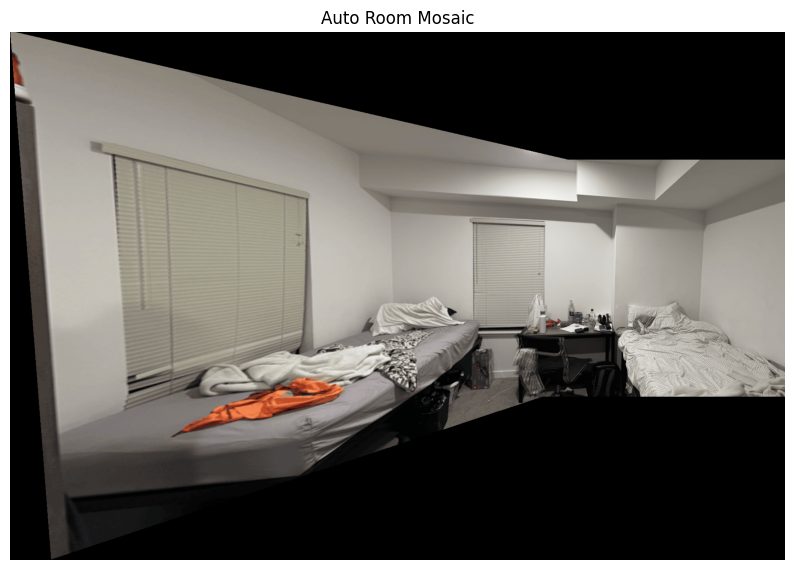
Auto Room Mosaic
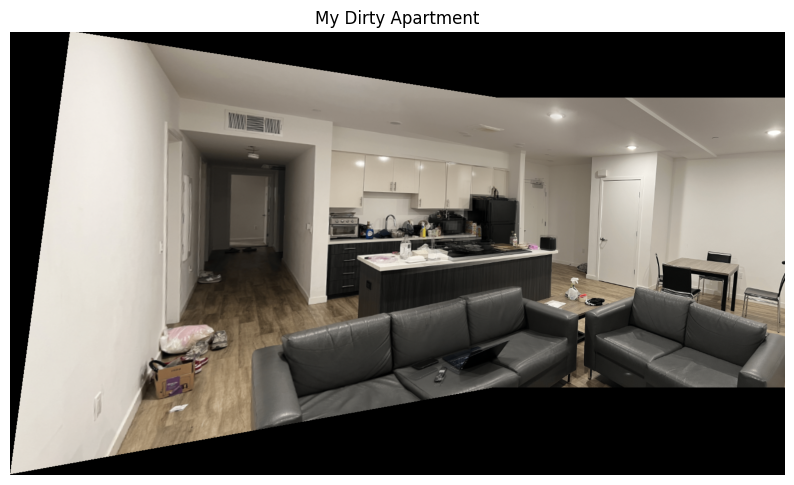
Manual Kitchen Mosaic
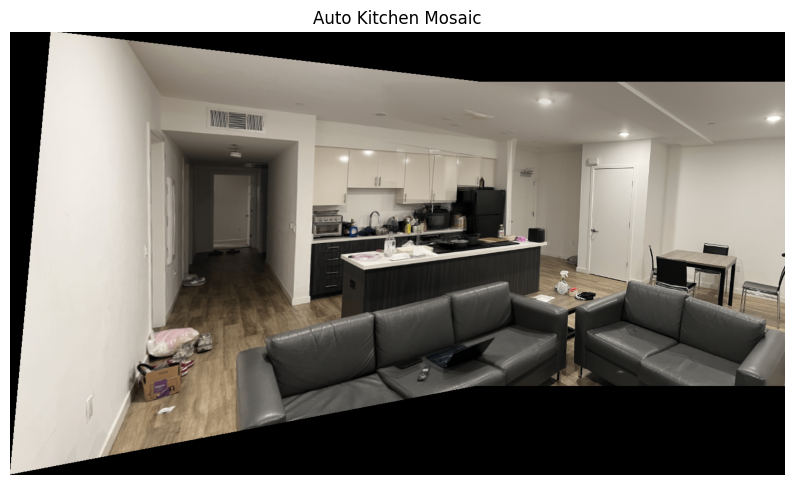
Auto Kitchen Mosaic
The main thing I learned from this project was the intricate process of feature matching and how robust algorithms like RANSAC can effectively handle outliers to compute accurate homographies. Seeing the mosaics being created automatically after having to do them manually was cool to see and exciting as it significally reduces the time required to create mosaics. It was cool seeing the effect each algorithm played in reducing outliers and ensuring that the mosaics create in the end were of high quality and robust.